Day 1: Make Hermes Run Before You Make It Clever
Do not start with every feature
Most Hermes tutorials rush toward the exciting parts: cloud deployment, WeChat or Feishu, Skills, automation, and multi-agent workflows. That is exactly how beginners lose the first hour. The shell says command not found. The model key goes into the wrong file. On Windows, PowerShell and WSL2 get mixed together. The bot starts once but nobody knows how to start it again tomorrow.
Day 1 has one job: make Hermes run in an environment you understand. Not “installed successfully” in a vague way, but three concrete answers: where is it running, which model endpoint is it using, and what is it allowed to touch?
Local or cloud is a product decision
Choose the installation path by usage, not by whatever screenshot a tutorial happens to show.
If you are evaluating Hermes or you care most about privacy, start locally. macOS and Linux can use the terminal directly. On Windows, use WSL2 instead of fighting native path and dependency issues. The goal is to reduce startup friction, not prove that every environment can be forced to work.
If you want a 24-hour assistant reachable from your phone, cloud deployment makes sense. That is why so many Chinese walkthroughs lead with “ten-minute cloud setup”: always-on access is the first value ordinary users can feel. But cloud also means you must care about secrets, ports, user permissions, and logs.
The conservative choice is simple: prove the CLI locally first; move to cloud when you have a clear mobile or unattended-workflow reason.
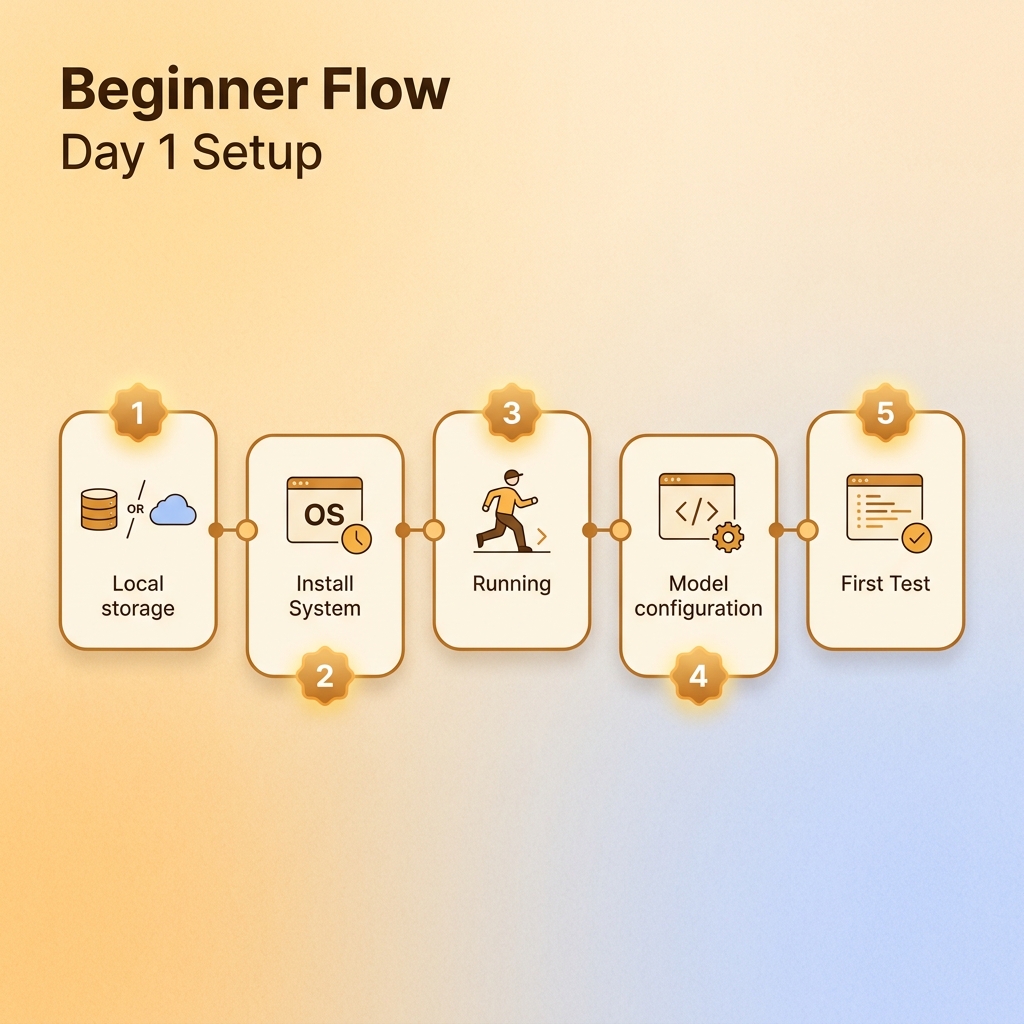
The setup order that avoids most pain
- Check the base environment. On Windows, prepare WSL2. On macOS or Linux, use the normal terminal.
- Install Hermes with the official installer first. Use manual clone only if network or package setup fails.
- Reload the shell. A surprising number of “install failures” are just stale shell paths.
- Run
hermes doctor. Do this before searching random errors. - Run
hermes setup. Configure the model first. Skip messaging channels if you are not ready. - Run
hermes modelto confirm the active provider and model. - Start a first low-risk conversation and ask Hermes to explain its boundaries.
Your first prompt should not be “who are you?”
Ask for an operational check instead:
Do not modify files yet. Inspect only the current runtime context.
Tell me: 1. whether Hermes is running correctly; 2. whether a model provider appears configured;
3. the minimum permissions you recommend next; 4. which actions must require my approval.
This turns Hermes from a chatbot into a reviewable work entry point. On day one you are not trying to feel amazed. You are trying to see the boundary.
Secrets and privacy start today
Local execution does not automatically mean private. If you use a hosted model API, prompts leave your machine. Cloud deployment is not automatically unsafe either, if you know exactly which data leaves the box.
Write these rules into your setup note:
- API keys live in environment variables or Hermes config, never inside chat.
- Private folders are off-limits unless explicitly selected.
- File deletion, external messages, spending money, and deployments require confirmation.
Where people usually get stuck
- Staying in PowerShell on Windows and hitting Linux dependency problems. Use WSL2.
hermesis not found after install. Reload the shell or open a fresh terminal.- Users compare model intelligence before confirming the shell works. Pick one model you already have access to.
- Messaging, cloud, and automation are configured together. Resist that. First prove the CLI.
Ship this artifact
Create hermes-day-1.md:
where_it_runs: "local WSL2 / Mac / cloud VM"
model_provider: "your chosen provider"
start_command: "hermes"
health_check: "hermes doctor passed / needs action"
secrets_location: "~/.hermes/.env or provider console"
first_boundary:
  - no file deletion without approval
  - no external messages without approval
  - no secret pasted into chat
Tomorrow is memory. The goal is not to make Hermes remember everything; it is to stop repeating the same background every morning.
Next step
- Day 2: Treat memory like a product feature - save only the facts that reduce future work.
- Privacy Policy - review how this site handles cookies and analytics.
Beginner Walkthrough: From Zero To First Chat
This section is written for someone installing Hermes for the first time. Follow one step, check the expected result, then continue. Do not install Hermes, configure messaging, and compare models at the same time.
Step 0: Choose the machine
- Windows: install WSL2 first. Run Hermes commands inside Ubuntu/WSL, not PowerShell.
- macOS: use Terminal.
- Linux: use your normal shell.
- Cloud server: log into the server and confirm which user owns the Hermes directory.
Step 1: Windows installs WSL2 first
Open PowerShell as Administrator and run:
wsl --install
Reboot when prompted. Ubuntu will ask you to create a username and password. The password will not display while typing; that is normal.
Step 2: Check the base environment
pwd
git --version
python3 --version
node --version || true
If Git or Python is missing, fix that first. Do not continue until the shell basics work.
Step 3: Install Hermes
curl -fsSL https://raw.githubusercontent.com/NousResearch/hermes-agent/main/scripts/install.sh | bash
Open a fresh terminal and verify:
hermes --version
hermes doctor
Do not ignore doctor output. If doctor fails, fix that before touching models or chat channels.
Step 4: Configure a model
hermes model
Choose a provider and paste the API key into the terminal wizard or config file. Never paste secrets into chat.
Step 5: Skip messaging today
The setup wizard may offer gateway, Feishu, WeChat-style, Telegram, or Discord channels. Skip them for Day 1. A working CLI makes later gateway debugging much easier.
Step 6: First safe prompt
Do not modify files yet.
Tell me:
1. which system environment you are running in;
2. whether a model is configured;
3. which read-only tasks you can do now;
4. whether you will ask before deleting files, sending external messages, or deploying services.
Acceptance check: Hermes should explain the environment, model, and boundary. If it asks for more permissions, stop.
Common Day 1 problems
command not found: hermes: open a new terminal or runsource ~/.bashrc.- Linux commands fail in PowerShell: switch to Ubuntu/WSL.
- GitHub download is slow: change network or download the installer manually.
- Model returns 401/403: key, quota, or provider selection is wrong.
Leave this file behind
where_it_runs: "WSL2 / Mac / Linux / cloud VM"
start_command: "hermes"
doctor_status: "passed / failed with reason"
model_provider: "your provider"
do_not_do_yet:
  - connect messaging channel
  - delete files
  - deploy services